Troubleshooting Your Fridge: A Guide to Refrigerator Repair in Danvers
This guide for Danvers residents explains what to check before calling for professional fridge repair. It outlines four simple, safe DIY troubleshooting steps: verifying the thermostat settings, cleaning the door seals, cleaning the condenser coils, and resetting the power at the circuit breaker. The post also details the warning signs that indicate a more serious problem—such as a refrigerator that’s still not cooling after these checks or is making loud noises—and require a certified technician. It advises on how to find a reliable local service for refrigerator repair in Danvers.
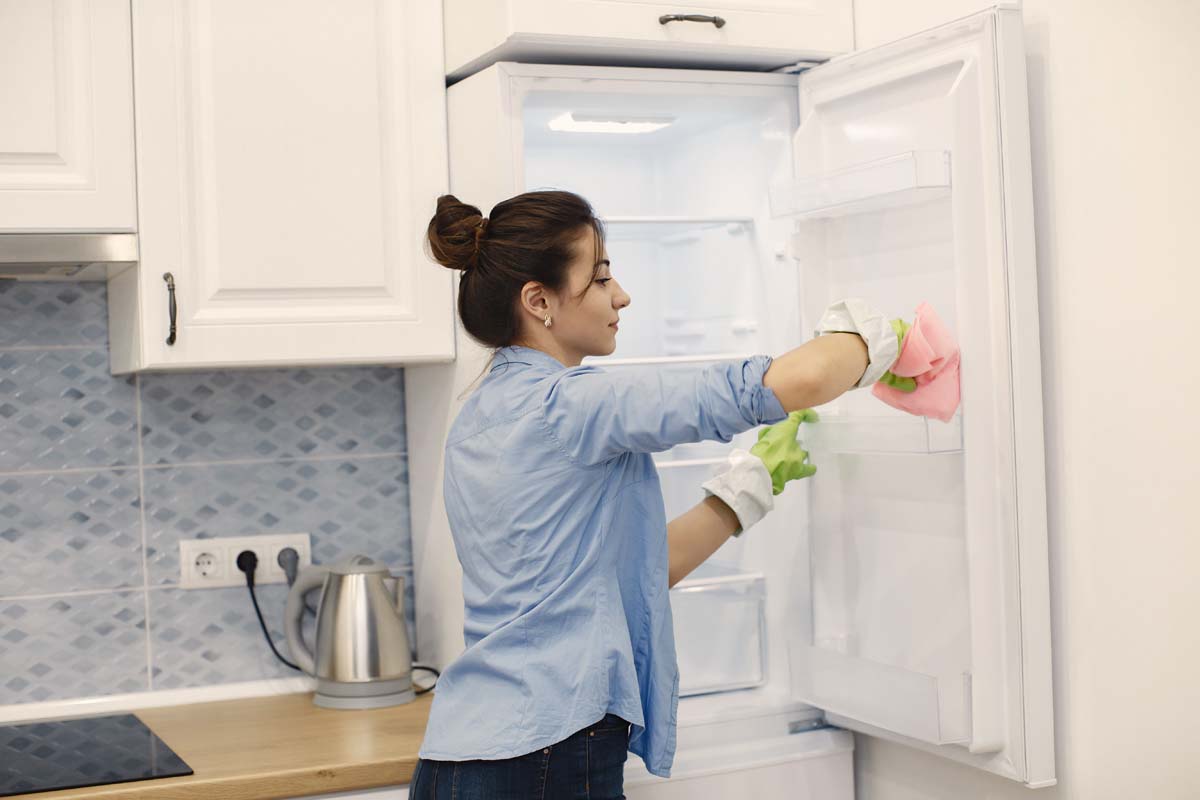
It’s a scenario every homeowner dreads: you open your refrigerator door and are greeted not by a wave of cold air, but by a sense of lukewarm panic. A broken refrigerator is one of the most urgent household problems, sending you into a race against time to save hundreds of dollars' worth of food from spoiling. Your first instinct might be to immediately search for refrigerator repair in Danvers.
But before you schedule a service call, there are several simple, safe things you can check yourself. Sometimes, the fix is easier and less expensive than you think, and taking a few minutes to troubleshoot can save you both time and money.
This guide will walk you through the essential checks every homeowner can perform before calling a professional. We'll also help you identify the clear warning signs that indicate it’s time to let an expert technician take over to get your kitchen back to normal.
4 Simple Checks That Could Save You a Service Call
These quick diagnostic steps can resolve some of the most common refrigerator issues without the need for a professional repair. Always unplug your refrigerator before performing any cleaning or inspection, unless you are specifically checking the power.
1. Check the Thermostat and Temperature Settings
This may sound obvious, but it’s the number one cause of cooling complaints. It’s very easy for the temperature dial or digital setting to get accidentally bumped by a grocery item or a child’s hand, leading the appliance to stop cooling properly.
- What to do: Open your refrigerator and locate the temperature control. Ensure it is set to the recommended temperature, which is typically between 37°F and 40°F. The freezer should be set to 0°F. If the settings were accidentally turned up or set to a "demo" mode, adjust them back to the correct temperature, close the door, and wait several hours to see if it begins to cool properly.
2. Inspect and Clean the Door Seals (Gaskets)
The rubber gaskets around your refrigerator and freezer doors are essential for creating an airtight seal, keeping the cold air in and the warm, moist air out. If this seal is dirty, sticky, or compromised, your refrigerator will run constantly and struggle to maintain its temperature, often leading to condensation and cooling problems.
- What to do: Visually inspect the entire door seal for any food spills, stickiness, or cracks. Clean the gasket with a cloth and warm, soapy water to remove any grime. To test the seal’s tightness, close the door on a dollar bill. If you can pull the bill out easily without any drag, the seal is too loose and may need to be replaced by a professional.
3. Clean the Condenser Coils
The condenser coils are your refrigerator’s unsung hero. These coils, usually located on the back of the unit or underneath behind a grille, are responsible for releasing heat from the refrigerant. Over time, they become magnets for dust, dirt, and pet hair. When the coils are dirty, they can't release heat effectively, forcing the compressor to work overtime, wasting energy, and leading to cooling problems.
- What to do: For safety, unplug your refrigerator first. If the coils are on the back, carefully pull the unit away from the wall. Use a long, soft-bristled brush (a condenser coil brush is ideal) and your vacuum’s hose attachment to gently clean all the dust and debris from the coils. This single step is the most effective thing you can do to improve your fridge’s performance.
4. Reset the Power
Like any modern electronic device, sometimes your refrigerator just needs a simple reset to clear a glitch in its control board.
- What to do: First, ensure the refrigerator is plugged securely into the wall outlet. Next, locate your home’s main electrical panel and check if the circuit breaker for the kitchen or refrigerator has been tripped. If it is in the middle or "off" position, flip it firmly back to "on."
When a DIY Fix Isn't Enough: Signs You Need a Professional
If you’ve performed all the checks above and your refrigerator is still not working properly, the problem is likely an internal component failure that requires a certified technician. For your safety, it's time to call for professional fridge repair in Danvers if:
- The refrigerator is still not cooling after cleaning the coils and checking the power. This could indicate a serious issue with the compressor, a sealed system refrigerant leak, or a faulty evaporator fan.
- You hear loud, grinding, or buzzing noises. This often points to a failing compressor or fan motor that needs to be replaced.
- There is a large amount of frost buildup in the freezer, which can be a sign of a failed defrost system (including a bad timer, heater, or thermostat).
- The unit is leaking water from the bottom, and you've confirmed the drain pan isn't just full. This could be a problem with a clogged defrost tube.
- The ice maker still isn't working after you've checked the water supply.
When you need a trusted expert for appliance repair in Danvers, the team at A+ Appliance Repair and Maintenance is here to help. We offer upfront pricing, a free service call with every completed repair, and a full warranty on our work. Don't risk losing your groceries—contact us today for fast and reliable service.



.webp)


.png)





.png)


.png)
.png)
.png)

.png)
.png)
.png)
.png)
.png)
.png)


.svg.png)


